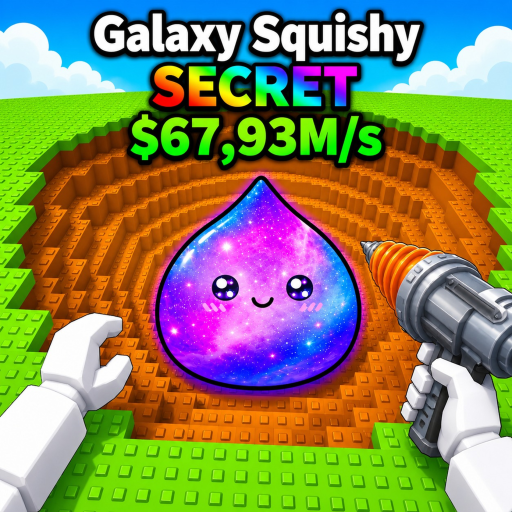
Start drilling
Use the drilling action shown by the live client. Exact input mappings are tracked separately on the controls page.
A practical first-session order based on the confirmed game loop, with decisions tied to what your live server shows.
Last reviewed:
Answer first
This order keeps the decisions simple without claiming one fixed optimal build.
Use the drilling action shown by the live client. Exact input mappings are tracked separately on the controls page.
Record the exact name and any values visible in your inventory. The official description confirms the unlock and upgrade relationship, but no public roster is available.
Use the Cash and upgrade numbers visible in your session. Do not assume a third-party rate or price applies to your current server.
Identify whether the live requirement points to Drill Power or whether a Squishy upgrade changes the Cash result you care about.
The creator confirms that Drill Power unlocks zones. Follow the requirement shown in the game; named zones and thresholds remain unverified in the public zone database.
Move from this checklist to the Mining Guide for timed progress tests, the Squishies and Drills hubs for database status, and the Zones page for progression requirements. Recheck after real game updates because public values may change.
Start drilling blocks, then use the Squishy and Cash information shown in your current session to decide what to inspect next.
No universal first upgrade is verified. Compare the requirement or rate that is limiting your own progress before spending Cash.
Use the next-zone requirement displayed by the live game. Public sources do not provide a verified zone list or recommended power table.
Yes. This page organizes first-session decisions; the Mining Guide focuses on measuring and improving the drilling loop.